Wooden Pumpkin DIY
A Perfect Fall Craft for Your Home
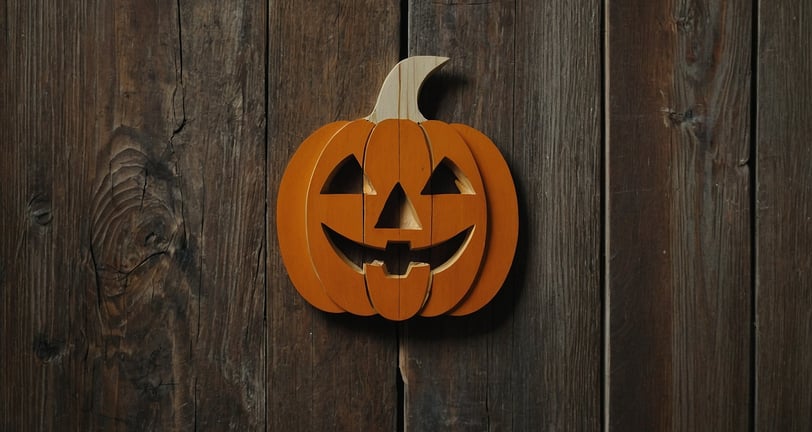
As autumn arrives and the air turns crisp, it's time to bring the warmth of the season into your home with festive decorations. One of the most popular and versatile crafts for fall is the wooden pumpkin DIY. Not only does this project provide a rustic and charming touch to your home, but it’s also a fun and rewarding craft for anyone who enjoys woodworking. Whether you're a seasoned craftsman or just getting started, a wooden pumpkin is an ideal fall decoration you can customize to your style and space.
Why Choose Wooden Pumpkins for Fall Decor?
Wooden pumpkins offer a unique and durable alternative to traditional pumpkins. While real pumpkins can rot and deteriorate, wooden pumpkins can last for many years, making them a sustainable and reusable choice. They're also customizable, allowing you to choose your preferred size, shape, and finish, making each one uniquely yours.
Materials You’ll Need
To get started on your wooden pumpkin DIY project, gather the following materials:
Wood: You can use reclaimed wood, pallets, or any type of wood that is easily accessible. Pine or plywood are common choices for beginners.
Jigsaw or scroll saw: To cut the wood into the desired pumpkin shapes.
Sandpaper: For smoothing the edges of your wooden pieces.
Wood glue or nails: For assembling your pumpkin structure.
Paint or stain: Choose colors that reflect the autumn season—orange, green, brown, or even white for a modern look.
Twine or raffia: To add a rustic touch to the pumpkin's stem.
Optional embellishments: Leaves, artificial flowers, or other fall-themed decorations to give your pumpkin some personality.
Step-by-Step Instructions for Making Wooden Pumpkins
1. Cut Out the Pumpkin Shape
First, sketch out your pumpkin shape on a piece of wood. You can use a stencil or freehand it, depending on your confidence level. Keep in mind that pumpkins come in all shapes and sizes, so don't worry too much about perfection. Once you have the outline, use a jigsaw or scroll saw to carefully cut out the shape.
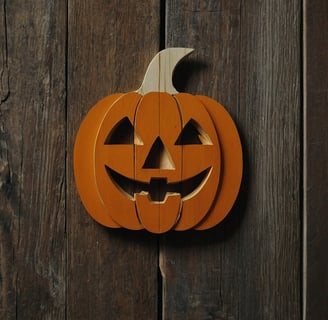
For a more dimensional pumpkin, you can cut out several layers of wood in the same shape and stack them together. This gives the pumpkin a 3D effect and makes it look more dynamic.
2. Sand the Edges
After cutting out the pumpkin shapes, use sandpaper to smooth out the edges. This step is crucial, especially if you're working with reclaimed wood or pallets, as they can have rough surfaces. A smooth finish not only looks better but also makes the painting or staining process easier.
3. Assemble the Pumpkin
If you’re creating a 3D wooden pumpkin, now’s the time to assemble the pieces. Use wood glue or nails to attach the layers together. If you prefer a flat pumpkin, you can skip this step and move on to painting.
For added stability, you can also attach a wooden base to the bottom of your pumpkin, allowing it to stand upright.
4. Paint or Stain the Wood
Once your pumpkin is assembled and smooth, it’s time to bring it to life with color. Use paint or stain to achieve the desired look. For a traditional pumpkin, go with orange paint and add a green stem. If you want a more neutral, farmhouse vibe, opt for a white or distressed finish.
You can also experiment with other finishes, such as chalk paint for a matte look or metallic paint for a modern twist. The choice is yours!
5. Add the Stem and Embellishments
To complete the pumpkin, create a stem by gluing a small piece of wood, a stick, or even a cork to the top. Wrap twine or raffia around the stem to give it a rustic touch. If you want to go the extra mile, you can add artificial leaves, flowers, or vines to enhance the autumn feel.
6. Personalize Your Pumpkin
If you're feeling creative, personalize your wooden pumpkin by adding a name, an initial, or a fall-inspired message. You can use stencils or freehand paint words like "Welcome," "Harvest," or "Happy Fall" on your pumpkin. This adds a personal touch and makes the pumpkin a unique piece for your home or garden.
Creative Ideas for Displaying Your Wooden Pumpkins
Now that you’ve completed your wooden pumpkin DIY project, the fun doesn’t stop there. Here are a few ideas for incorporating your handcrafted pumpkins into your fall decor:
Front Porch Display: Line up a variety of wooden pumpkins of different sizes and colors on your porch for a charming autumnal welcome.
Centerpiece for Dining Table: Create a fall-themed centerpiece by arranging your wooden pumpkin alongside candles, leaves, and small gourds.
Mantelpiece Decor: Prop a few wooden pumpkins on your fireplace mantel, mixed with fairy lights and garlands for a cozy touch.
Outdoor Yard Decor: If you made larger wooden pumpkins, place them in your yard or garden to enhance your outdoor fall decorations.
Wall Art: Hang flat wooden pumpkins on a wall for a simple yet effective seasonal decoration. You can use hooks or attach ribbon to the back for easy hanging.
Benefits of Making Wooden Pumpkins
Crafting your own wooden pumpkins isn't just about having a beautiful fall decoration. It also offers a variety of benefits:
Eco-Friendly: Using reclaimed or recycled wood helps reduce waste and gives new life to old materials.
Budget-Friendly: Wooden pumpkins can be made using inexpensive materials, and once completed, they last for many seasons, unlike real pumpkins that need to be replaced yearly.
Personalization: You have full creative control, allowing you to customize the pumpkins to your liking and match your home decor.
Fun Family Activity: This DIY project can be a fun and engaging activity for the whole family. Get the kids involved by letting them paint or decorate their own wooden pumpkins.
Why Wooden Pumpkins Are a Fall Must-Have
Wooden pumpkins have become a popular fall decor item due to their versatility, durability, and timeless appeal. Unlike other seasonal decorations that may come and go, wooden pumpkins provide a classic and rustic charm that never goes out of style. Whether you prefer a traditional, modern, or farmhouse look, these wooden crafts can easily be customized to suit your aesthetic.
Moreover, they are a perfect solution for anyone looking for sustainable and long-lasting fall decorations. With wooden pumpkins, you won't have to worry about buying new decor each year. Instead, you can simply bring out your handcrafted pumpkins every fall season.
Final Thoughts
A wooden pumpkin DIY project is a fantastic way to add a personal touch to your fall decor. With just a few materials and some creativity, you can create a beautiful and unique piece that will last for many seasons to come. Whether you display your wooden pumpkins on your porch, as part of a centerpiece, or in your yard, they are sure to bring warmth and charm to your home.