How to Store Lumber Properly
Prevent Warping and Damage
Storing lumber properly is one of the most critical aspects of woodworking, especially if you want to maintain the quality of your materials and avoid costly damage. Whether you're working with hardwood, softwood, or reclaimed wood, improper storage can lead to warping, splitting, and moisture-related issues. In this blog, we’ll explore effective strategies for storing lumber to prevent warping and damage, ensuring your wood is ready to use whenever you need it.
Understanding Why Lumber Warps
Warping occurs when wood absorbs or loses moisture unevenly, causing the wood fibers to shrink or swell at different rates. This results in bending, twisting, or cupping, which can make the wood unusable for many projects. The key to preventing warping is to maintain stable moisture levels, which can be managed through proper storage techniques.
There are different types of warping, including:
Bow – where the wood bends along its length.
Cup – where the edges of the wood curl up or down.
Twist – where the corners of the wood twist in different directions.
Understanding the types of warping can help you spot early signs of damage and take action before the wood becomes unusable.
Step 1: Choose the Right Storage Location
The first and most important step in storing lumber is choosing an appropriate location. Lumber should be stored in a space that is cool, dry, and well-ventilated. Humidity and temperature fluctuations are the main culprits of moisture-related damage, so finding a location that maintains a stable environment is crucial.
Indoor Storage: If possible, store your lumber indoors in a climate-controlled space like a garage, basement, or dedicated workshop. Indoor environments typically have more stable humidity and temperature levels, which helps prevent warping.
Outdoor Storage: If you must store lumber outside, make sure it is well-covered and protected from the elements. Use tarps or plastic sheeting to keep rain and moisture off the wood, and elevate the lumber off the ground using bricks or pallets to prevent water absorption from the soil.
Step 2: Stack Lumber Correctly
How you stack your lumber plays a significant role in preventing warping. If lumber is left lying flat without proper support, gravity and uneven airflow can cause the wood to warp over time.
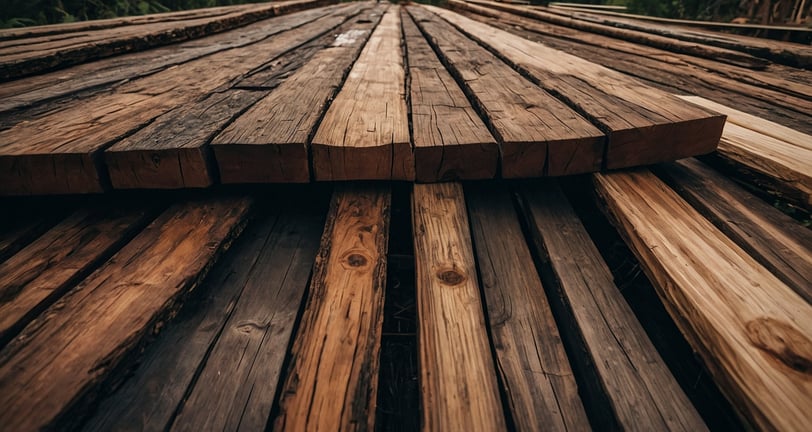
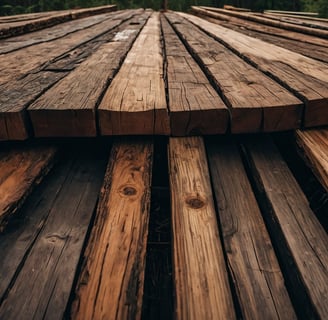
Flat Stacking with Stickers: The best way to stack lumber is flat, using spacers called “stickers” between each layer of wood. Stickers are small, uniform pieces of wood (usually ¾-inch thick) placed between the boards to allow air circulation. Place stickers every 16-24 inches along the length of the lumber. This airflow prevents moisture buildup and helps maintain even drying, reducing the risk of warping.
End Support: Ensure that both ends of the stack are properly supported to avoid sagging, which can cause bowing. Use sturdy racks or create a makeshift support system using blocks or boards at regular intervals along the stack’s length.
Vertical Storage for Shorter Pieces: If you're storing smaller, shorter pieces of lumber, consider vertical storage. Vertical storage works well for shorter boards, but make sure to support the ends to prevent them from bending under their own weight.
Step 3: Protect the Lumber from Moisture
Moisture is the primary cause of wood warping, so keeping your lumber dry is essential. Even a small amount of water exposure can lead to significant damage over time.
Use a Moisture Barrier: If you’re storing lumber on concrete floors, place a moisture barrier like plastic sheeting or a wooden pallet between the floor and the wood. Concrete can hold moisture, which will be absorbed by the wood if it's in direct contact.
Cover the Lumber: For outdoor storage, use a tarp or waterproof cover to shield the lumber from rain or snow. Make sure the tarp is secure but allows for some air circulation to prevent condensation from building up underneath.
Seal the Ends of the Lumber: The ends of lumber are more susceptible to rapid moisture loss, which can lead to cracking and splitting. Applying a coat of wax or paint to the ends of the boards can slow down moisture evaporation and help prevent end grain damage.
Step 4: Control Humidity Levels
Controlling the humidity levels in your storage space is one of the most effective ways to prevent wood warping. Ideally, you want to maintain a relative humidity of around 40-50% to keep the wood stable.
Use a Dehumidifier: If your storage space tends to be humid, consider using a dehumidifier to control the moisture levels. This is especially important during wet seasons when humidity can spike.
Monitor Humidity Levels: Invest in a hygrometer to monitor the humidity levels in your storage area. By keeping an eye on fluctuations, you can take action before humidity rises too much and affects your wood.
Step 5: Acclimate Lumber Before Use
Before using your stored lumber for a project, it’s essential to acclimate it to the environment where it will be worked on or installed. Wood naturally absorbs and releases moisture depending on the humidity of its surroundings, so acclimating it helps stabilize the wood.
Bring the Lumber Inside: Bring the wood into the workshop or space where you’ll be working and let it sit for a few days to a few weeks, depending on the thickness of the boards and the climate differences. This allows the wood to adjust to the temperature and humidity of the space before being cut or assembled.
Check Moisture Content: If possible, use a moisture meter to check the moisture content of the wood. Aim for a moisture level of around 6-8% for indoor projects or 10-12% for outdoor projects. Lumber that’s too wet or too dry may warp or shrink after installation, causing problems with the finished project.
Step 6: Rotate the Stack Occasionally
If you’re storing lumber for an extended period, it’s a good idea to rotate the stack occasionally. Over time, the wood at the bottom of the pile may compress slightly under the weight of the boards on top. By rotating the lumber every few months, you can help prevent long-term warping or indentations.
Step 7: Store Finished Projects and Cut Lumber Carefully
If you’ve already started cutting or finishing your lumber, proper storage remains just as important. Cut pieces are often more vulnerable to warping because they have more exposed edges.
Clamp Pieces Together: If you’ve cut boards for a specific project, store them flat and clamp them together to maintain their shape. Clamping prevents individual boards from twisting or bowing.
Store in a Dry Space: Finished projects or prepared wood should be stored in a dry, controlled environment. Avoid leaving them in direct sunlight or in areas with significant temperature fluctuations.
Properly storing lumber is a vital step in any woodworking process. By choosing the right storage location, stacking the wood with care, controlling humidity, and protecting the wood from moisture, you can significantly reduce the risk of warping, splitting, or other damage. Whether you’re a hobbyist or a professional, these storage techniques will help keep your lumber in excellent condition, ensuring your projects turn out beautifully. Implementing these strategies will not only protect your investment but also enhance the quality of your woodworking for years to come.