How to Repair Damaged Wood: A Guide for DIY Enthusiasts
A step-by-step guide to fixing scratches, dents, and cracks in wood.
Wood is a timeless, durable material found in many homes, furniture, and outdoor structures. However, like all materials, wood can become damaged due to wear and tear, weather conditions, or accidents. Whether it’s scratches, cracks, chips, or water damage, knowing how to repair damaged wood can save you money and extend the life of your wooden items. This guide will walk you through practical techniques for repairing different types of wood damage, ensuring your projects look good as new.
Types of Wood Damage
Before diving into the repair process, it’s important to understand the types of wood damage you may encounter:
Scratches: These are surface-level marks caused by sharp objects or friction.
Dents and Chips: Usually from impact, these affect the shape or surface of the wood.
Cracks: Cracks can develop over time, often due to the wood drying out or temperature changes.
Water Damage: When exposed to moisture, wood can warp, swell, or develop mold.
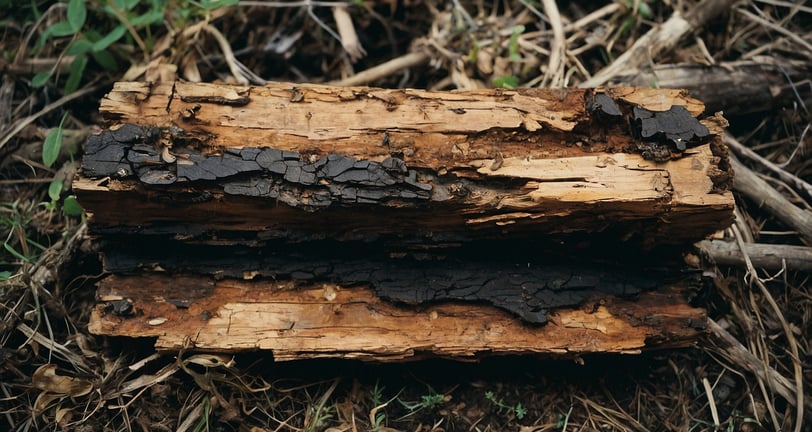
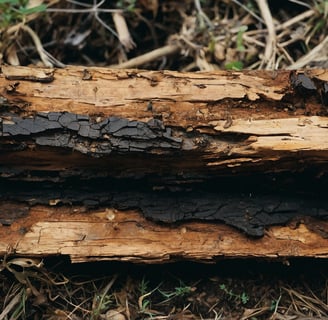
Rot: Prolonged exposure to moisture can cause the wood to decompose, leading to soft, crumbly sections.
Understanding the type of damage will help you choose the appropriate repair method.
Materials and Tools Needed for Wood Repair
Before starting any repair, gather the following materials and tools:
Sandpaper (various grits)
Wood filler or epoxy resin
Wood putty
Paint or wood stain
Paintbrush or rag
Putty knife
Wood glue
Clamps
A chisel or scraper
A soft cloth
Clear sealant or varnish
Having these items on hand will ensure that your repair process goes smoothly.
Step-by-Step Guide to Repairing Scratches in Wood
Scratches are one of the most common types of wood damage. Luckily, they are also the easiest to fix. Here’s how to repair minor and deeper scratches:
For Minor Scratches:
Clean the Surface: Before starting, make sure the wood is clean. Wipe down the area with a damp cloth to remove any dust or dirt.
Use a Wood Marker or Crayon: For surface-level scratches, use a wood repair marker or crayon that matches the wood color. Rub it into the scratch, then buff with a soft cloth to blend.
Apply a Protective Finish: After the scratch is filled, apply a clear coat of varnish or sealant to protect the area.
For Deeper Scratches:
Sand the Area: Use fine-grit sandpaper to smooth the edges of the scratch. Be careful not to remove too much wood.
Apply Wood Filler: Using a putty knife, apply wood filler to the scratch. Make sure to use a filler that matches the wood grain and color.
Let it Dry: Allow the filler to dry completely before sanding it smooth.
Stain or Paint: After sanding, apply a matching wood stain or paint to blend the repair with the rest of the piece.
Fixing Dents and Chips in Wood
Dents and chips can alter the appearance and functionality of wood surfaces. Here’s how to restore them:
Steam the Dent: For small dents, place a damp cloth over the dented area and apply heat using an iron. The moisture and heat will cause the wood to expand and return to its original shape. This method works best for minor dents.
Fill the Chip with Wood Putty: If the wood is chipped, use wood putty to fill the gap. Apply the putty with a putty knife, ensuring it’s slightly overfilled. Once dry, sand it down until smooth.
Refinish the Area: After sanding, apply a wood finish or paint to blend the repair with the rest of the wood.
Repairing Cracks in Wood
Cracks can weaken wooden structures if left untreated. Follow these steps to repair them:
Clean the Crack: Use a brush or compressed air to remove dirt and debris from the crack.
Apply Wood Glue: For small cracks, apply wood glue along the length of the crack, making sure the glue penetrates the gap.
Clamp the Wood: Use clamps to hold the wood together while the glue dries. Wipe away any excess glue with a damp cloth.
For Larger Cracks: If the crack is larger, use wood filler or epoxy resin. Apply the filler using a putty knife, overfilling the crack slightly to account for shrinkage as it dries.
Sand and Refinish: Once the filler is dry, sand the area smooth and apply a matching wood finish or paint.
Dealing with Water Damage
Water can cause wood to warp, swell, or develop stains. Here's how to fix common water damage issues:
Dry the Wood: If the wood is still wet, dry it out completely before attempting repairs. Use fans, dehumidifiers, or let it air dry in a well-ventilated area.
Sand the Surface: Once dry, sand the warped or swollen areas to restore the surface to its original smoothness.
Treat Stains: For water stains, apply a mixture of baking soda and water to the affected area. Rub it gently in circular motions with a cloth until the stain disappears.
Apply a Protective Finish: To prevent future water damage, apply a clear coat of varnish or sealant.
Fixing Rotting Wood
Wood rot occurs when wood is exposed to moisture for extended periods. This repair is more complex but still manageable with the right tools:
Remove the Rotten Wood: Use a chisel or scraper to remove the rotten parts of the wood. Ensure that you remove all soft, decayed sections.
Apply Wood Hardener: Once the rotten wood is removed, apply a wood hardener to the area. This will strengthen the remaining wood and prevent further decay.
Fill the Gap with Epoxy Resin: For larger areas of rot, fill the gap with epoxy resin. Smooth the surface using a putty knife, and let it cure fully before sanding it down.
Sand and Refinish: Sand the area smooth and apply a finish that matches the original wood.
Preventing Future Wood Damage
Once you’ve repaired the wood, it’s important to take preventative measures to avoid future damage:
Use Protective Finishes: Regularly apply varnish, lacquer, or oil to protect the wood from moisture, UV rays, and general wear.
Keep Wood Clean: Regular dusting and cleaning can help preserve the wood’s surface and prevent scratches and dents.
Use Furniture Pads: Placing pads under furniture legs can prevent dents and scratches from everyday use.
Control Moisture Levels: Ensure that wooden items are kept in a well-ventilated, dry space to avoid moisture-related issues like warping, swelling, or rot.
Repairing damaged wood is a valuable skill that can save you both time and money. Whether you’re dealing with scratches, dents, cracks, or water damage, the techniques outlined in this guide will help restore your wood to its former glory. With proper care, the wood in your home or furniture can last for many years, offering both beauty and functionality. By learning how to effectively repair and maintain wood, you can extend the life of your pieces while preserving their aesthetic appeal.