How to Build Your Own Pallet Bed Frame for a Stylish and Sustainable Upgrade
Build your own pallet bed frame with this easy DIY guide! Learn how to sand, assemble, and finish pallets for a stylish, budget-friendly, and eco-friendly bed.
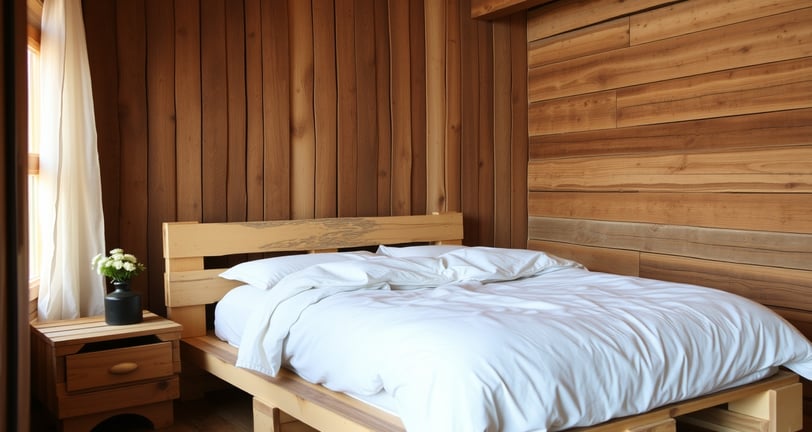
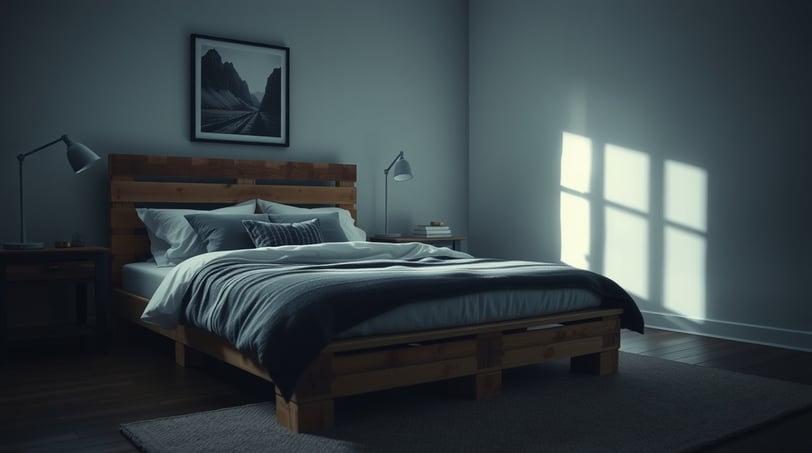
Looking for a budget-friendly and eco-conscious way to upgrade your bedroom? A pallet bed frame might be just the thing. With a few stacked pallets, you can create a unique and affordable piece that adds a warm, rustic touch to your space. In this guide, I’ll walk you through the process step by step, along with some helpful tips for sanding and finishing the wood to get that smooth, polished look that makes all the difference.

Why Choose a Pallet Bed Frame?
Pallet bed frames offer several advantages, making them an attractive choice for DIY enthusiasts and environmentally-conscious individuals. Here are a few reasons why you might consider building a pallet bed frame:
Cost-Effective: Pallets are often available for free or at a low cost, making this a budget-friendly option compared to purchasing a pre-made bed frame.
Eco-Friendly: Repurposing pallets helps reduce waste and promotes sustainable living by giving new life to otherwise discarded materials.
Customizable: With a pallet bed frame, you can easily customize the design to fit your personal style and bedroom decor.

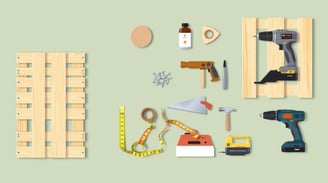
Materials and Tools Needed
Before you start constructing your pallet bed frame, gather the following materials and tools:
Materials:
Wooden pallets (ensure they are in good condition and free from chemicals or pesticides)
Sandpaper (various grits: coarse, medium, and fine)
Wood screws
Wood filler (optional, for filling gaps or holes)
Wood stain or paint (optional, for finishing)
Clear polyurethane or wood sealant (for protection)
Tools:
Hammer or screwdriver
Saw (if you need to cut pallets to size)
Measuring tape
Level
Paintbrush or roller (if applying stain or paint)
Sanding block or electric sander (for larger areas)


Step-by-Step Instructions
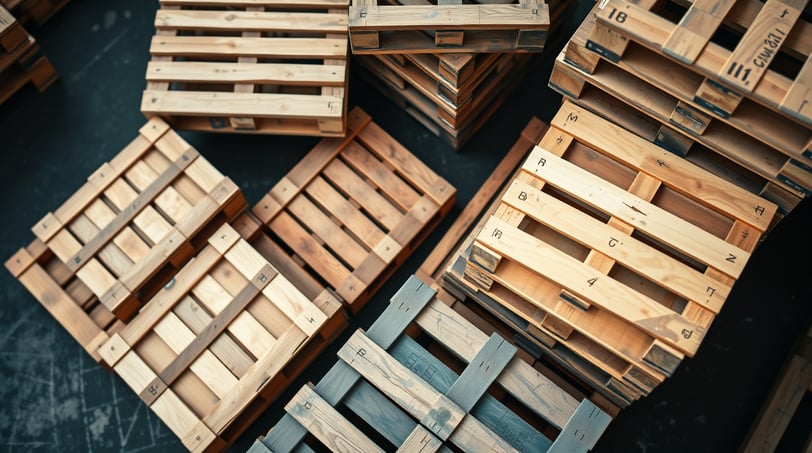
1. Select and Prepare Your Pallets
Start by selecting pallets that are in good condition. Look for pallets that are sturdy, free from cracks or splinters, and not treated with chemicals. Pallets used for shipping food or non-toxic materials are ideal.
Once you have your pallets, inspect them for any nails or staples and remove them carefully. You may also need to disassemble some pallets if you want to cut them to a specific size or if you prefer a more customized design.

2. Cut and Arrange the Pallets
Determine the size of your bed frame based on your mattress dimensions. Standard mattress sizes are Twin (38"x75"), Full (54"x75"), Queen (60"x80"), and King (76"x80"). Measure and mark the pallets according to the size you need.
Use a saw to cut the pallets if necessary. Arrange the pallets on the floor to create the base of your bed frame. You can stack them in a single layer for a low-profile bed or use multiple layers for added height. Ensure the arrangement is level and stable.


3. Assemble the Bed Frame
Once you are satisfied with the arrangement, start assembling the bed frame. Use wood screws to secure the pallets together. Drill pilot holes to prevent the wood from splitting, and then drive in the screws.
If you’re adding a headboard or footboard, attach additional pallets to the sides of the base using screws. For extra stability, you can also add corner brackets or additional support beams as needed.
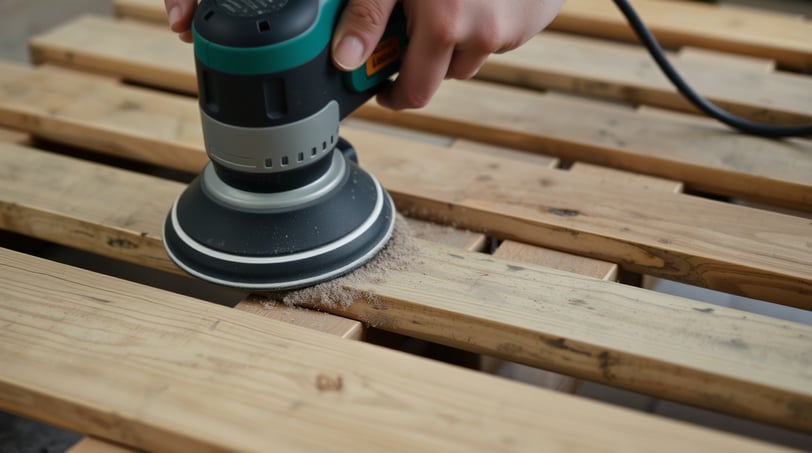

4. Sand the Wood
Sanding is a crucial step to achieve a smooth and polished finish. Start with coarse-grit sandpaper to remove any rough areas, splinters, or imperfections. Gradually move to medium-grit sandpaper to smooth out the surface further.
Finally, use fine-grit sandpaper to give the wood a polished look. Sand along the grain of the wood and ensure that all surfaces are smooth and free of any sharp edges.
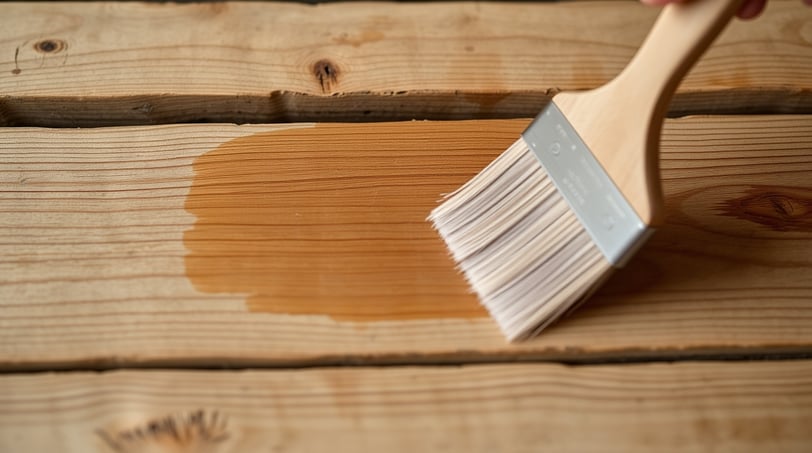
5. Fill Gaps and Apply Finish
If you notice any gaps, holes, or imperfections in the wood, use wood filler to fill them in. Allow the filler to dry completely, and then sand it smooth.
Next, apply a wood stain or paint if desired. This step is optional, but it can enhance the appearance of your bed frame and protect the wood. Use a paintbrush or roller to apply the stain or paint evenly. Allow it to dry according to the manufacturer’s instructions.
Finish by applying a clear polyurethane or wood sealant to protect the wood and give it a durable, long-lasting finish. Apply multiple coats if needed, allowing each coat to dry thoroughly before applying the next.t you can be proud of.

6. Final Assembly and Placement
Once the finish has dried completely, assemble the bed frame in your bedroom. Position it where you want it and ensure that it is level and stable. Place your mattress on top, and you’re ready to enjoy your new pallet bed frame!
Tips for a Successful Pallet Bed Frame Project
Inspect Pallets Carefully: Ensure the pallets you use are free from chemicals and in good condition. Avoid pallets with broken boards or excessive wear.
Work Safely: Wear safety gear, such as gloves and safety glasses, when handling tools and materials.
Measure Twice, Cut Once: Accurate measurements are crucial for a well-fitting and stable bed frame. Double-check all measurements before cutting.
Allow Finishes to Dry: Be patient and allow all finishes to dry thoroughly before using the bed frame to ensure the best results.
Constructing a pallet bed frame is a DIY project I found to be both practical and satisfying. It’s an affordable, eco-friendly way to bring some rustic charm into the bedroom. With a bit of planning, careful sanding, and a nice finish, it’s possible to create a sturdy and polished piece that feels both stylish and functional—something that really pulls the room together without breaking the bank.