Create Stunning DIY Wooden Planters for Your Home Garden
Transform your garden with beautiful DIY wooden planters. Learn easy steps to create stunning, custom wooden planters that add natural charm to your home garden.
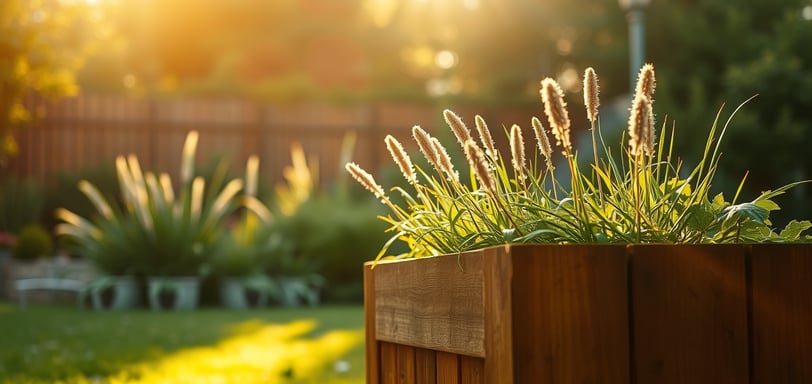
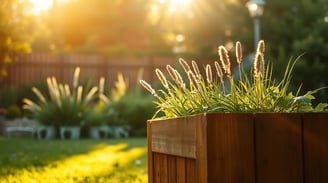
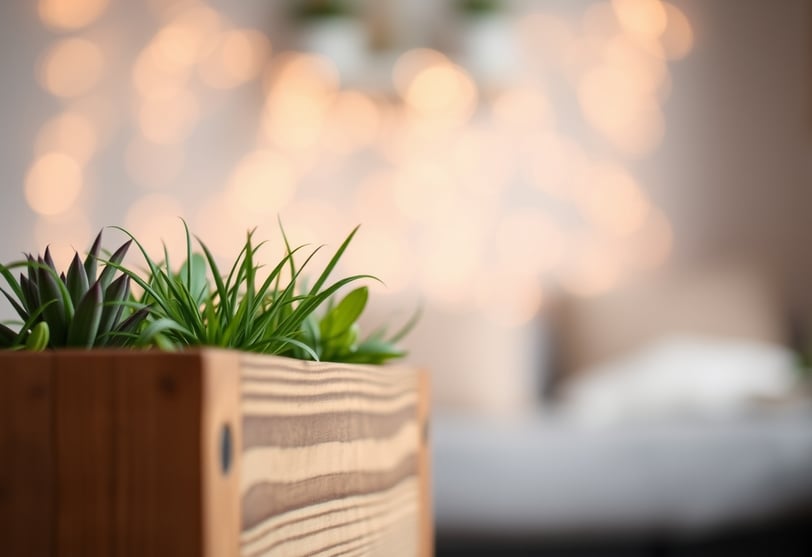
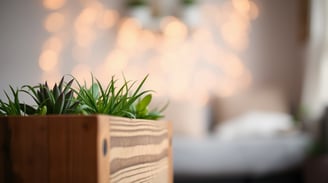
Wooden planters are not just functional; they can also add a touch of rustic charm and natural beauty to your garden or indoor space. Whether you're a seasoned DIY enthusiast or just starting with woodworking projects, I think creating your own wooden planters can be a rewarding and creative endeavor. Check out this guide for the best wood types to use for outdoor planters. Get ready to elevate your gardening game and add a personalized touch to your greenery!
Benefits of DIY Wooden Planters
1. Customization:
One of the most significant advantages of DIY wooden planters is the ability to customize them according to your preferences. You can choose the size, shape, and finish that best complement your garden or indoor decor.
2. Cost-Effective:
Wooden planters can often be expensive when purchased from stores. By creating your own, you not only save money but also have the satisfaction of crafting something unique.
3. Personalized Touch:
DIY wooden planters allow you to infuse your personality into your gardening space. Whether you prefer a sleek, modern design or a more rustic look, the possibilities are endless.
4. Sustainability:
Using reclaimed or sustainably sourced wood for your planters adds an eco-friendly element to your gardening. You can repurpose old pallets or timber for a green approach.
Simple DIY Wooden Planter Ideas
1. Basic Rectangular Planter
Materials Needed: Wood boards, screws, drill
Instructions:
Cut the wood boards to your desired length and width.
Assemble the boards to form a rectangular box, using screws to secure them.
Drill drainage holes in the bottom for proper water drainage.
Finish with a coat of weather-resistant sealant or paint.
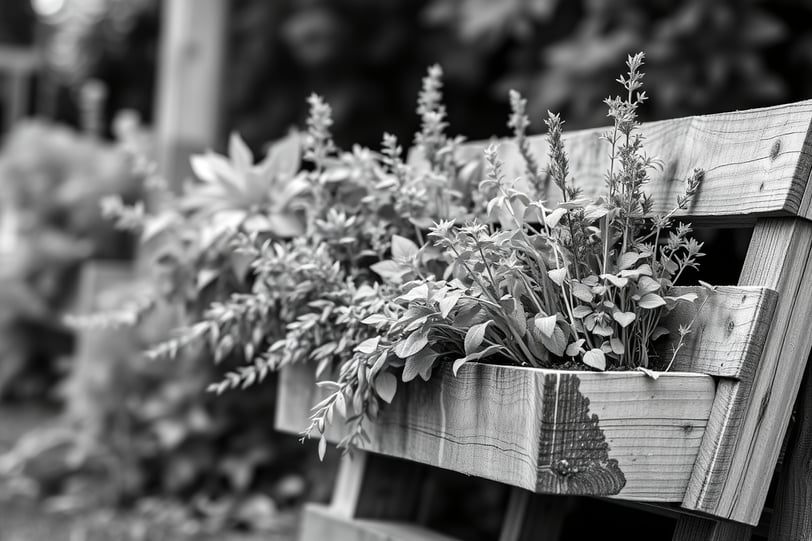
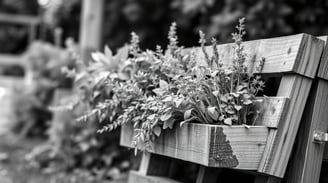
2. Vertical Herb Garden
Materials Needed: Wooden pallet, landscape fabric, potting soil, herbs
Instructions:
Stand the wooden pallet upright.
Line the back and bottom with landscape fabric, stapling it in place.
Fill each row with potting soil, leaving space for herbs.
Plant your favorite herbs in the pockets created by the pallet slats.
Hang the pallet vertically on a sturdy wall or fence.
3. Tiered Planter Stand
Materials Needed: Wood boards, wood glue, nails, saw
Instructions:
Cut the boards into varying lengths for the tiers (small, medium, and large).
Assemble each tier by attaching the boards together with wood glue and nails.
Stack the tiers from largest to smallest, securing them in place.
Add potted plants or flowers to each tier, creating a cascading effect.
Advanced DIY Wooden Planter Projects

1. Chevron Pattern Planter
Materials Needed: Cedar boards, miter saw, wood glue, nails
Instructions:
Cut the cedar boards into equal-length pieces with angled ends.
Arrange the pieces in a chevron pattern, alternating directions.
Apply wood glue between each piece and secure with nails.
Assemble the planter box and add a bottom panel.
Sand the planter and finish with outdoor wood sealant for protection.
2. Hexagonal Planter Box
Materials Needed: Wood boards, wood glue, screws, saw
Instructions:
Cut the wood boards into six equal-length pieces with angled ends.
Assemble the pieces to form a hexagon shape, using wood glue and screws.
Create a bottom panel and attach it securely.
Drill drainage holes in the bottom.
Stain or paint the planter for a polished look.
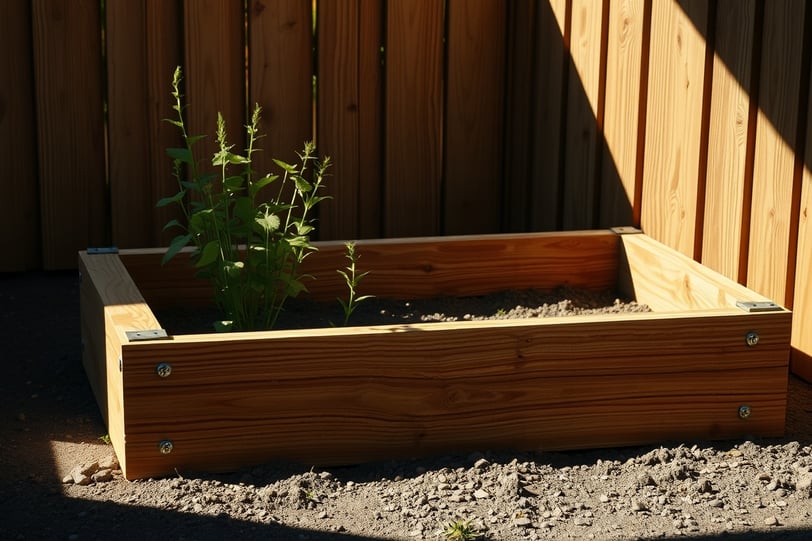
3. Raised Garden Bed
Materials Needed: Cedar boards, corner brackets, screws, drill
Instructions:
Cut the cedar boards to desired lengths for the bed sides.
Attach the boards together at the corners using corner brackets and screws.
Create multiple layers for a deeper bed, if desired.
Place the raised bed in your garden area and fill with soil.
Plant vegetables, herbs, or flowers for a productive and beautiful garden.
Tips for Maintaining Your DIY Wooden Planters
Regular Inspection: Check for signs of rot or damage, especially at the bottom, where moisture can accumulate.
Proper Drainage: Ensure adequate drainage by drilling holes in the bottom of the planters.
Weather Protection: Apply a weather-resistant sealant or outdoor paint to protect the wood from the elements.
Seasonal Care: Consider moving planters indoors during harsh weather or covering them with tarp.
Re-staining: Over time, reapply stain or paint to refresh the appearance of your wooden planters.
Building DIY wooden planters has been such a rewarding project and a great way to add a personal touch to my garden. Whether I choose a simple, rustic design or take on something more intricate, the end result always feels special and enhances the outdoor space. I make sure to pick quality wood, ensure proper drainage, and finish the planters with a protective coating so they last through the seasons. Excitement grows as the garden blooms with beauty and charm! Learn more here about building your own wooden planters.