Crafting Your Own Wooden Stepping Stool: A Fun and Functional DIY Project
Discover how to create a functional and stylish wooden stepping stool with this concise guide, covering design, assembly, and customization tips for a rewarding woodworking project.

Woodworking is such a delightful and practical hobby, and I can’t help but love how it gives us the chance to create beautiful, useful items for our homes. One of my favorite projects is the wooden stepping stool — it’s such a versatile little piece! Not only does it give you that extra boost when you’re trying to reach a high shelf, but it also helps kids get to the sink or counter more easily. And honestly, I’ve even used mine as a small table or an extra seat when needed.
In this article, I’ll walk you through how to make your own wooden stepping stool, share some of the benefits I’ve discovered, and give you a few tips on how you can customize it to match your style and needs. Let’s dive in — I think you’re going to love this project as much as I do!
The Benefits of a Wooden Stepping Stool
Practical and Durable
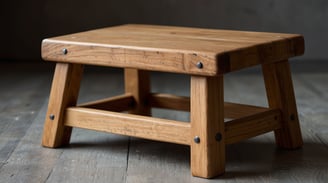
A wooden stepping stool is incredibly practical, providing a stable and reliable boost for various tasks around the house. Wood, as a material, offers superior durability compared to plastic or metal alternatives, ensuring your stool remains sturdy and functional for years.
Customizable and Aesthetic
One of the joys of woodworking is the ability to customize your creations. With a wooden stepping stool, you can select the type of wood, stain or paint color, and design features that best match your home decor. This personalization not only makes the stool aesthetically pleasing but also uniquely yours.
Environmentally Friendly
Wood is a renewable resource, making wooden stools an eco-friendly choice. By selecting sustainably sourced wood, you contribute to environmental conservation while creating a beautiful and practical item.
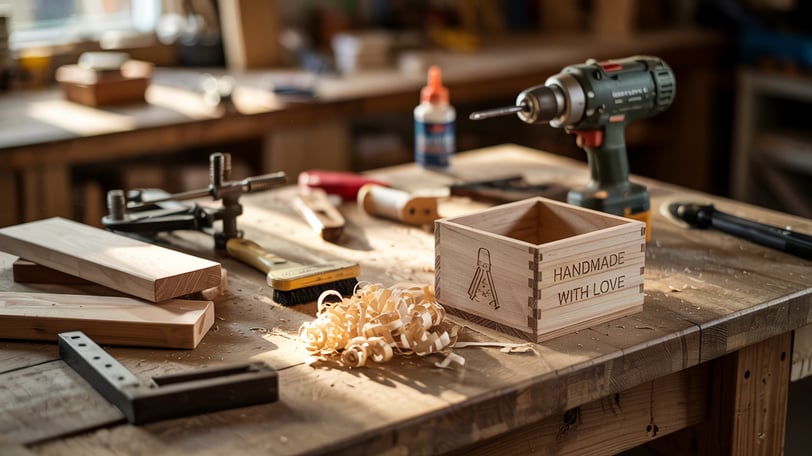

Materials and Tools Required
Materials
Hardwood boards (such as oak, maple, or cherry)
Wood screws or dowels
Wood glue
Sandpaper (various grits)
Wood stain or paint (optional)
Finish (such as polyurethane, varnish, or wax)
Tools
Tape measure
Pencil
Saw (circular saw, miter saw, or jigsaw)
Drill and bits
Clamps
Sander or sanding block
Brush or cloth for applying finish
Step-by-Step Guide to Building Your Wooden Stepping Stool
1. Designing Your Stool
Begin by sketching your stool design, considering the height and width that will best serve your needs. A common height for a stepping stool is between 12-18 inches, with a width of 12-15 inches for stability.
2. Measuring and Cutting the Wood
Accurately measure and mark your wood according to your design. You’ll typically need two pieces for the sides, one for the top, and one or two for the steps, depending on your design.
Use your saw to cut the wood pieces, ensuring straight and precise cuts. A circular saw or jigsaw with a guide can help achieve professional results.
3. Sanding the Pieces
Sand all the cut pieces to smooth any rough edges and surfaces. Start with a coarser grit sandpaper (80-120 grit) and gradually move to a finer grit (220 grit) for a smooth finish. Proper sanding is crucial for both the aesthetics and the durability of the stool.
4. Assembling the Stool
Dry-fit the pieces together to ensure they align correctly. Apply wood glue to the joints and clamp the pieces together. Allow the glue to dry according to the manufacturer’s instructions.
After the glue has dried, reinforce the joints with wood screws or dowels for added strength. Drill pilot holes before inserting screws to prevent the wood from splitting.
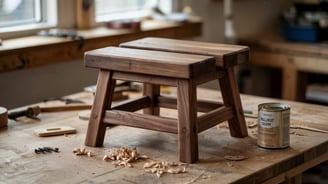
5. Finishing Touches
Give the assembled stool a final sanding to smooth any rough spots and ensure a seamless finish. Wipe away any dust with a damp cloth.
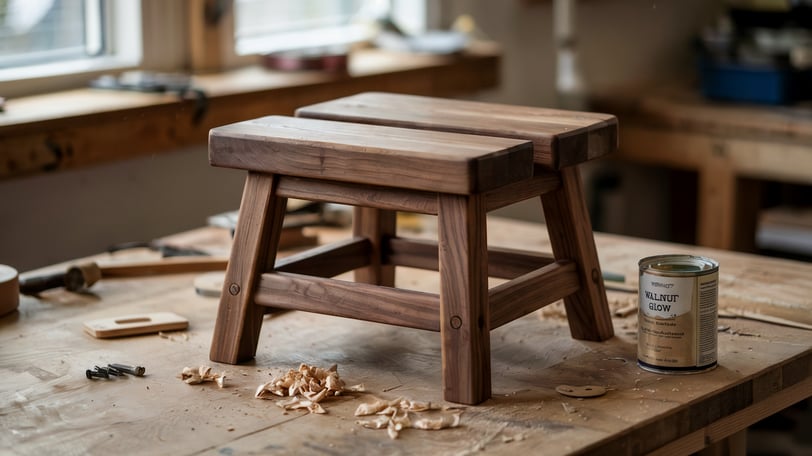
6. Staining or Painting
Apply your chosen stain or paint to the stool. A clear stain or finish enhances the wood’s natural grain and color, while paint offers a pop of color and personalization. Apply the finish with a brush or cloth, following the wood grain's direction.
Allow the stain or paint to dry completely. If using a finish like polyurethane, apply multiple thin coats, sanding lightly between each coat for a smooth and durable finish.
Customization Ideas
Personalizing your wooden stepping stool can make it even more special. Here are a few ideas for customization:
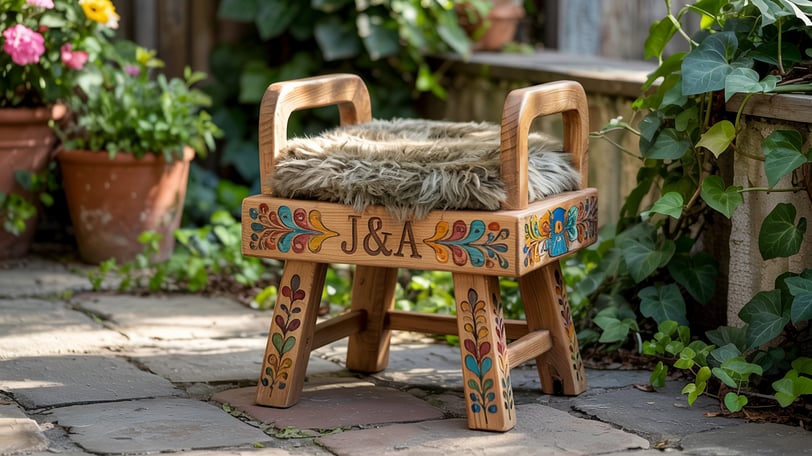
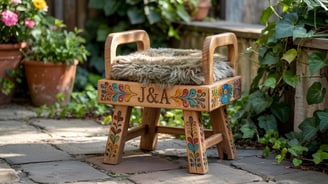
Carvings or Engravings
Add a personal touch by carving or engraving initials, patterns, or designs into the wood. This can be done using hand tools or a wood-burning tool for added detail and uniqueness.
Paint Designs
Use stencils or freehand painting to add colorful designs to your stool. Consider painting the legs a different color than the steps or adding decorative patterns for a vibrant look.
Cushioning
For added comfort, attach a small cushion to the top of the stool. This can be particularly useful if the stool will be used as a seat, making it more comfortable for prolonged use.
Handles
If you plan to move the stool frequently, consider adding cut-out handles on the sides for easy carrying. This feature adds convenience without compromising the stool's aesthetics.
Tips for Success
Start Simple: Choose a straightforward design, especially if you’re new to woodworking. As you gain experience, you can tackle more complex projects.
Plan Ahead: Sketch your design and gather all necessary materials and tools before starting. This preparation will save you time and help ensure a smooth workflow.
Safety First: Always wear protective gear, such as safety glasses and hearing protection. Follow safety guidelines to avoid accidents and ensure a safe working environment.
Take Your Time: Woodworking is an art that requires patience and precision. Rushing through steps can lead to mistakes, so take your time to achieve the best results.
Creating a wooden stepping stool is such a rewarding project, and I can honestly say it’s one of those builds that offers both practical benefits and a great opportunity to show off your woodworking skills. Whether you’re just starting out or you’ve been working with wood for years, this project lets you make something that’s not only useful but also beautiful and uniquely yours. So go ahead — gather your materials, follow the steps, and most importantly, enjoy the process. You’ll end up with a wooden stepping stool that’s sure to become a cherished part of your home, and I think you’ll feel pretty proud every time you use it!