Building the Perfect Wooden Dog House: A DIY Guide
Learn to build a cozy, durable wooden dog house with this step-by-step guide. Create a custom, weather-resistant, and affordable shelter for your furry friend today.
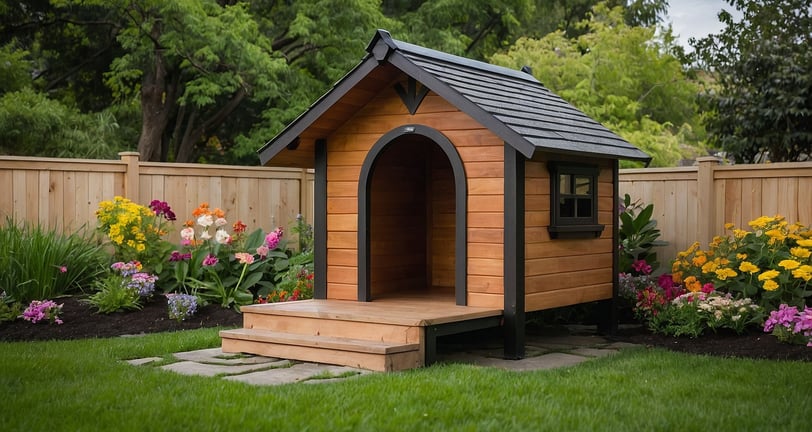
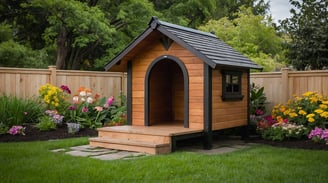
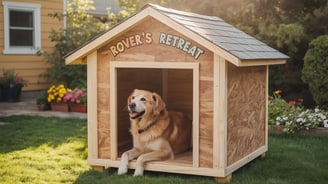
Creating a cozy and durable dog house from wood is a rewarding project that not only provides a safe haven for your furry friend but also enhances the aesthetic of your backyard. A well-designed wooden dog house offers protection from the elements, comfort, and a personal space for your dog to call its own. This guide will walk you through the process of building a wooden dog house, from selecting materials to adding the finishing touches, ensuring a safe and inviting space for your pet.
Why Choose a Wooden Dog House?
Wooden dog houses are a popular choice for several reasons:
Durability: Wood is a sturdy material that can withstand various weather conditions, providing long-lasting protection for your dog.
Insulation: Wood naturally offers good insulation, keeping the dog house warm in winter and cool in summer.
Customization: A wooden dog house can be customized to suit your backyard design and your dog’s specific needs.
Aesthetic Appeal: Wooden structures blend well with outdoor environments, adding a rustic charm to your yard.


Materials You Will Need
Before you start building, gather the following materials:
Plywood sheets
2x4 lumber
Wood screws
Roofing material (e.g., asphalt shingles)
Wood sealant or paint
Insulation material (optional)
Hinges (for a roof that opens)
Basic tools: saw, drill, tape measure, hammer, and screwdriver
Step-by-Step Guide to Building a Wooden Dog House
1. Plan and Measure
Start by planning the size of the dog house. Consider the size of your dog and ensure there’s enough room for them to move comfortably. A good rule of thumb is to make the house at least 25% larger than your dog’s measurements.
Height: The height should be tall enough for your dog to stand up without hitting their head.
Length and Width: There should be enough space for your dog to lie down and turn around easily.
2. Cut the Wood
Using your measurements, cut the plywood sheets and lumber to size:
Base: Cut a rectangular piece for the floor.
Walls: Cut four pieces for the sides, front, and back walls.
Roof: Cut two pieces for the roof panels. If you want an opening roof for easy cleaning, cut the pieces accordingly.
3. Assemble the Base and Walls
Attach the 2x4 lumber pieces to the edges of the base for added support. Then, assemble the walls:
Back Wall: Attach the back wall to the base using wood screws.
Side Walls: Secure the side walls to the base and the back wall.
Front Wall: Attach the front wall, ensuring you leave an opening for the door.

4. Create the Door Opening
Cut out a door opening on the front wall. The opening should be large enough for your dog to enter comfortably but not so large that it lets in too much cold air. Sand the edges of the opening to prevent splinters.
5. Attach the Roof
If you’re creating a roof that opens, attach the hinges to one side of the roof panels and secure them to the top of the walls. If the roof is fixed, simply screw the panels into place. Make sure the roof has a slight overhang to protect the walls from rain.
6. Insulate (Optional)
For extra comfort, especially in extreme weather conditions, you can add insulation inside the walls and roof. Use foam boards or other suitable insulation material and cover it with an additional layer of plywood.
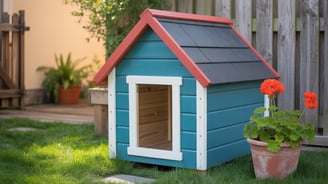
7. Seal and Paint
To protect the wood from the elements, apply a wood sealant or paint. Choose a non-toxic, pet-safe product to ensure your dog’s safety. This step not only prolongs the life of the dog house but also allows you to customize its appearance to match your backyard.
8. Add Roofing Material
Cover the roof with a durable, weather-resistant material such as asphalt shingles. This will further protect the dog house from rain and sun, ensuring a dry and comfortable interior.
9. Finishing Touches
Add any additional features that will make the dog house more comfortable for your pet. Consider adding:
Bedding: Place a soft, weather-resistant cushion or blanket inside.
Ventilation: Ensure there is proper ventilation to prevent overheating in summer.
Shade: Position the dog house in a shaded area to keep it cool.

Maintenance Tips
To keep your wooden dog house in good condition and ensure your dog’s comfort, regular maintenance is essential:
Clean Regularly: Keep the interior clean by removing bedding and washing it frequently. Sweep out any dirt or debris.
Inspect for Damage: Regularly check the dog house for any signs of wear or damage, such as loose screws or rotting wood. Repair as needed.
Reapply Sealant: Depending on your climate, you may need to reapply the wood sealant or paint every couple of years to maintain its protective properties.
Building a wooden dog house is a fulfilling project that combines craftsmanship with the joy of creating a special space for your pet. By following this guide, you can construct a dog house that not only looks great in your backyard but also provides a safe, comfortable, and inviting home for your furry friend. Whether you’re an experienced woodworker or a DIY enthusiast, this project is a wonderful way to put your skills to use and enhance your dog’s quality of life.