Build Your Own Wooden Bench
A Simple DIY Project
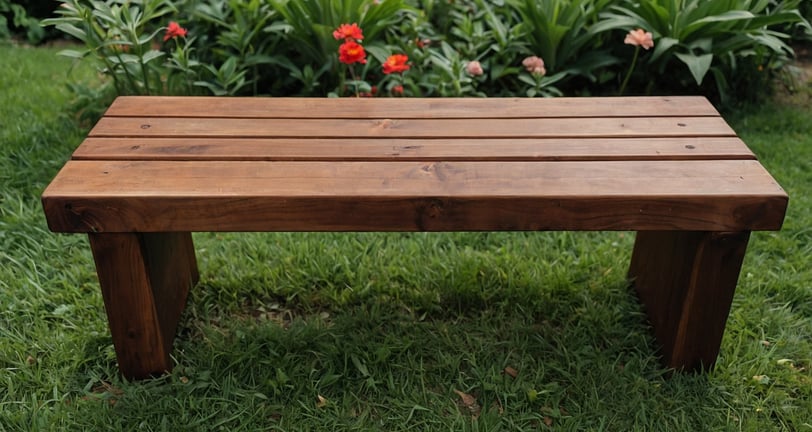
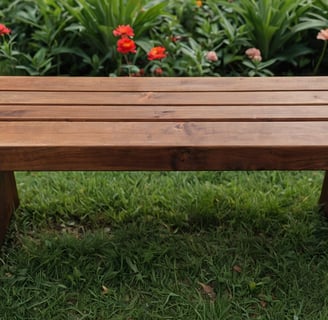
Wooden benches are timeless, versatile, and make for an excellent addition to any home or garden. Whether you're looking to create additional seating or add a rustic charm to your outdoor space, building a wooden bench is a rewarding DIY project. This guide will walk you through how to create your very own DIY wooden bench, complete with tips, tools, and techniques to ensure success.
Why Build a Wooden Bench?
There are plenty of reasons to take on this project:
Cost-effective: Store-bought benches can be pricey, but with some lumber and basic tools, you can craft your own for a fraction of the cost.
Customizable: Choose the dimensions, style, and finish that suit your preferences.
Satisfying: Few things are as fulfilling as sitting on a bench you built with your own hands.
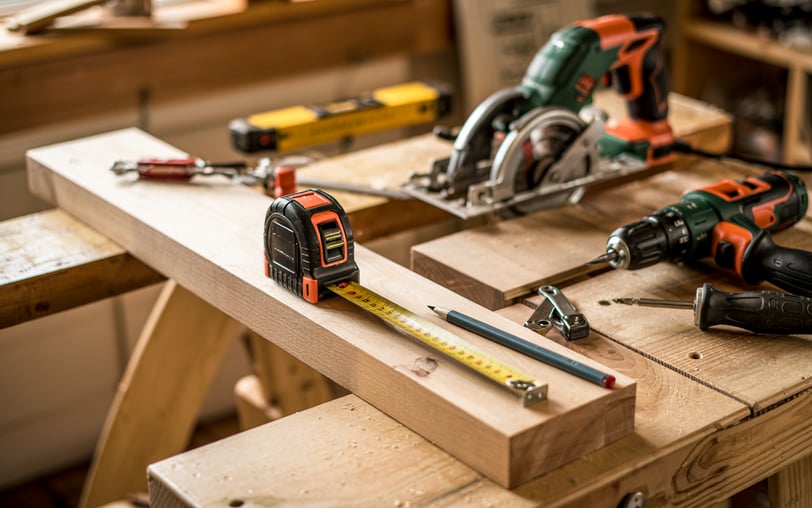
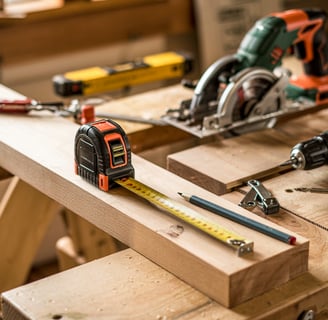
Materials and Tools Needed
Before diving into the process, gather these materials and tools:
Materials:
Wooden planks (such as 2x4s or 2x6s, depending on your desired design)
Screws or nails
Wood glue
Sandpaper (80-grit and 120-grit)
Wood stain, paint, or sealant (optional)
Tools:
Measuring tape
Saw (circular, miter, or hand saw)
Drill and bits
Screwdriver
Clamps
Level
Pencil or marker
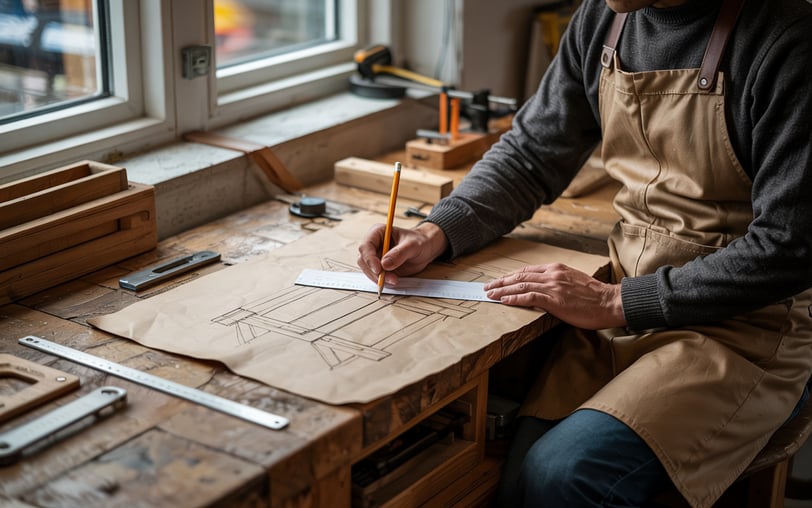
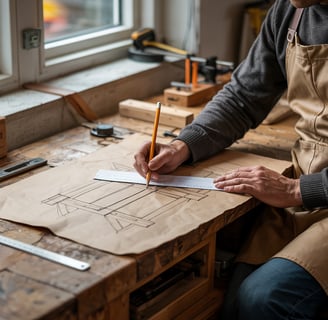
Step 1: Design Your Bench
The first step is to decide on the style and size of your bench. Ask yourself the following questions:
Where will the bench go?: For outdoor benches, use treated wood to withstand the elements.
How many people will it seat?: This will determine the length of the bench.
What style do you prefer?: Simple straight lines are beginner-friendly, while more intricate designs may require advanced skills.
Sketch out your design or find inspiration online. Simpler designs typically consist of a rectangular seat, two legs, and supports for stability.
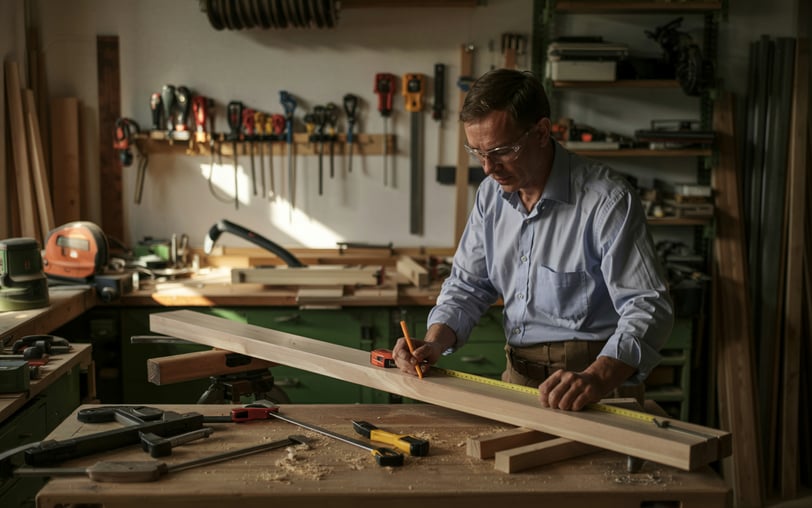

Step 2: Cut the Wood
With your design in hand, measure and mark the wood according to your specifications. Use your saw to cut the pieces accurately. For a basic bench, you’ll typically need:
Seat: One long plank (e.g., 48 inches)
Legs: Four shorter planks (e.g., 18 inches each)
Supports: Two planks to connect the legs and stabilize the seat
Ensure all cuts are straight and smooth to avoid uneven assembly.
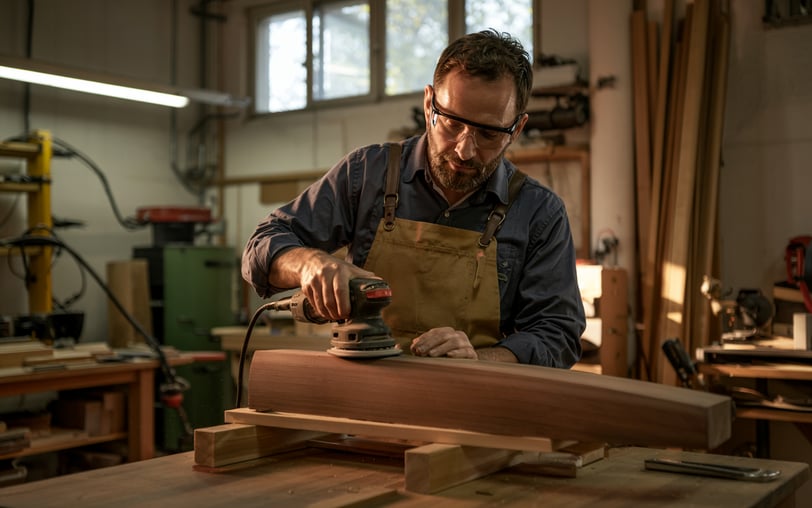
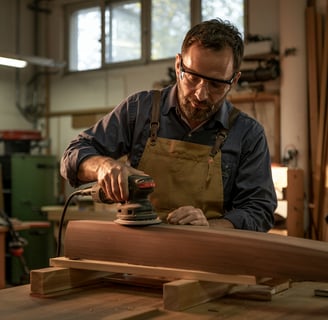
Step 3: Sand the Pieces
After cutting the wood, sand each piece to remove rough edges and splinters. Start with 80-grit sandpaper to smooth out imperfections, then switch to 120-grit for a finer finish. Sanding ensures your bench is comfortable to use and gives a polished appearance.
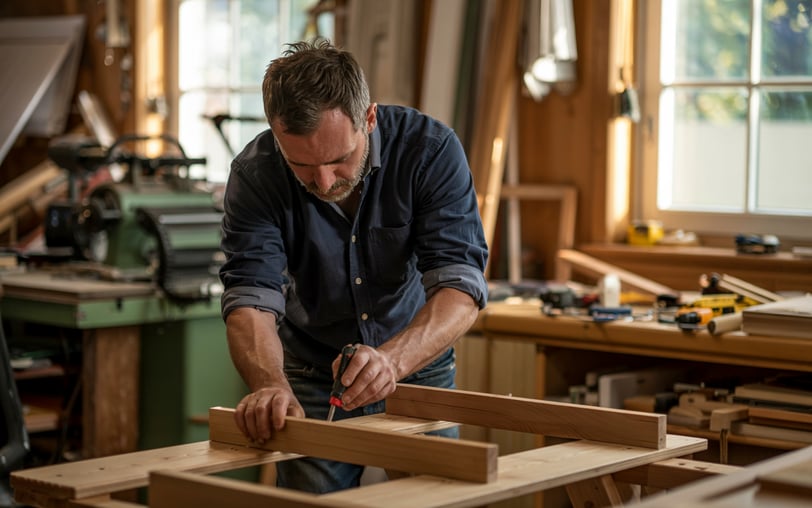

Step 4: Assemble the Frame
Begin by assembling the legs and supports:
Position two legs upright and attach a support plank between them near the base using screws or nails.
Repeat for the other two legs and support plank.
Use clamps to hold the pieces in place while fastening them to ensure stability.
Check that everything is level before proceeding.
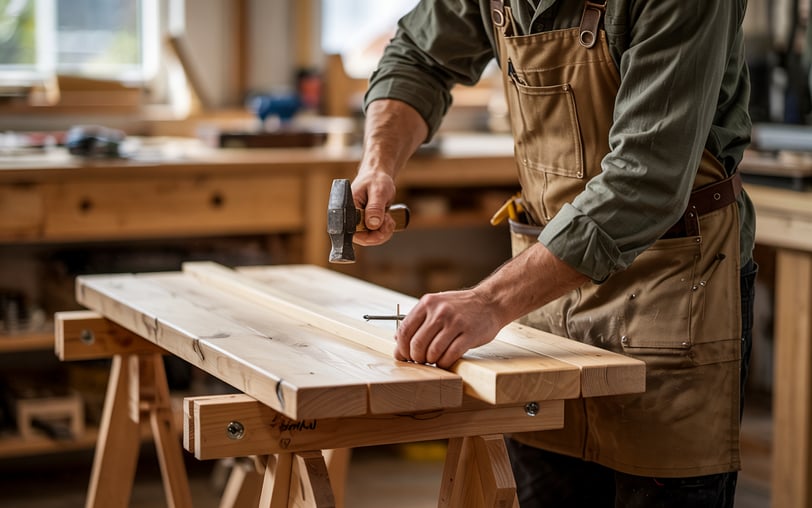
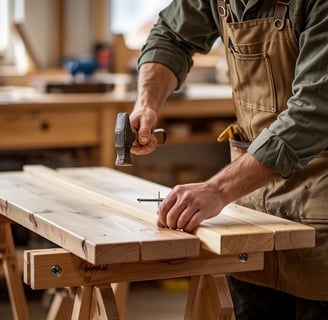
Step 5: Attach the Seat
Place the seat plank on top of the assembled frame:
Align the seat plank evenly over the legs.
Secure the seat to the frame using screws or nails, ensuring it is centered and level.
If using wood glue, apply it to the contact points before screwing the seat in place for added durability.
Step 6: Add Finishing Touches
Once the bench is fully assembled, inspect it for any loose screws or uneven areas. Tighten as needed and make sure all components are secure. Sand any rough edges one more time for a smooth finish.
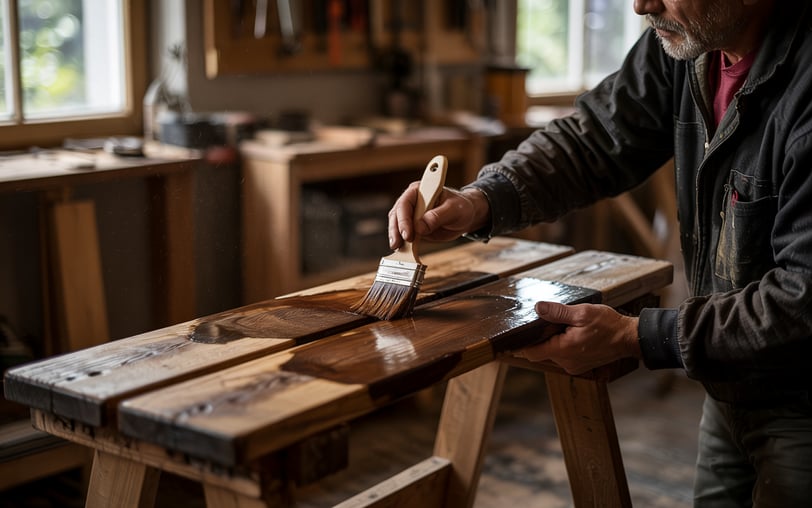
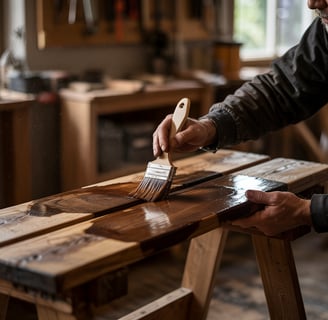
Step 7: Apply Stain or Paint (Optional)
To enhance the bench’s appearance and protect it from wear, consider applying a wood stain, paint, or sealant:
Use a brush or cloth to apply the finish evenly.
Allow it to dry completely before using the bench.
For outdoor use, opt for a weather-resistant finish to prevent damage from moisture and UV rays.
Tips for Success
Measure twice, cut once: Precision is key to a sturdy and well-balanced bench.
Choose quality wood: Pine is affordable and easy to work with, while hardwoods like oak or cedar are more durable.
Pre-drill holes: This prevents the wood from splitting when driving screws.
Work on a level surface: Ensures the bench sits evenly and securely.
Creative Variations
Once you’ve mastered a basic wooden bench, you can explore these creative ideas:
Storage Bench: Add a hinged lid to the seat for hidden storage space.
Backrest: Attach an angled backrest for additional comfort.
Decorative Details: Use carved legs, painted patterns, or inlays to personalize your bench.
Planter Bench: Incorporate built-in planters on either side for a unique garden feature.
Benefits of DIY Benches
Building a wooden bench yourself offers several advantages:
Cost Savings: Materials for a DIY bench often cost significantly less than purchasing a pre-made one.
Skill Development: Each project hones your woodworking abilities, preparing you for more advanced builds.
Personal Touch: Handcrafted furniture adds character and warmth to your space.
Common Mistakes to Avoid
Skipping the sanding step: This can result in a rough and uncomfortable bench.
Not using clamps: Clamps ensure precise alignment and prevent movement during assembly.
Ignoring safety measures: Always wear protective gear like safety glasses and gloves.
Crafting a DIY wooden bench is a fulfilling project that combines creativity, practicality, and skill-building. By following this guide, you’ll create a bench that’s not only functional but also a beautiful addition to your home or garden. Whether you keep it simple or experiment with decorative features, your wooden bench will be a testament to your craftsmanship and effort. So gather your tools, choose your wood, and start building today.